


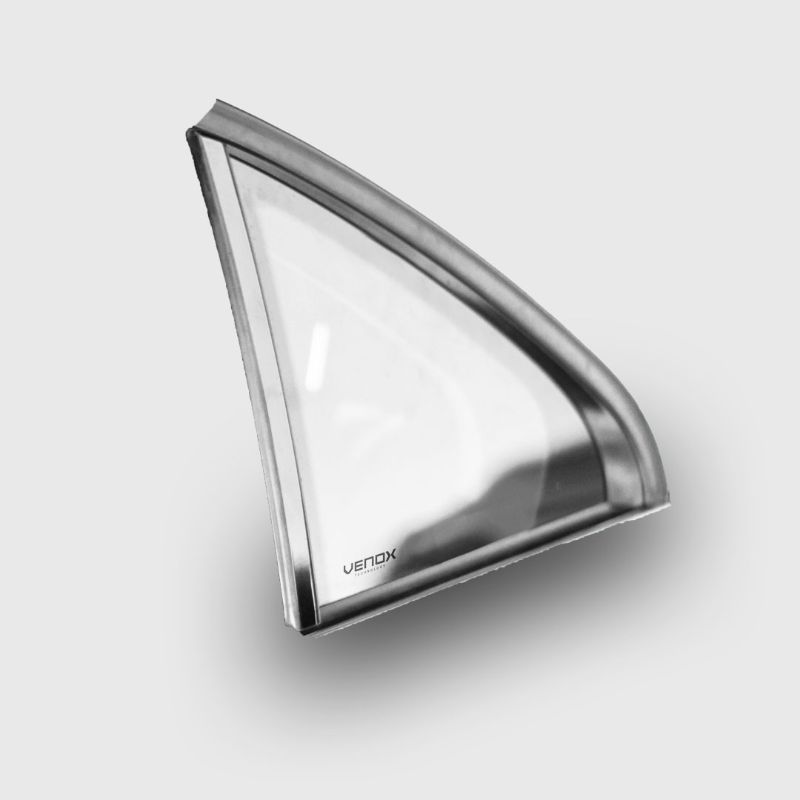
Glass Laser Engraving (Marking) Guide: Logo, Serial No, QR Code — Readability and Durability
Laser engraving on glass offers high repeatability for markings such as logos, serial numbers, and QR codes. However, due to the optical/thermal properties of glass, the parameter window is narrow. For industry context and typical applications, see the Glass sector page.
The Optical/Thermal Nature of Engraving on Glass
- Matting effect: The laser creates micro-roughening and matting on the glass surface, generating contrast.
- Thermal accumulation: High energy density increases the risk of microcracks; the low power / high speed principle is generally safer.
- Spot and scan spacing: A wider spot and looser scan spacing can help limit heat build-up.
Readability for QR Codes and Serial Numbers
QR readability on glass surfaces is determined by module size (side length of a single square unit), contrast, error-correction level, and engraving clarity. The guide below is for typical indoor conditions:
| Reading Distance | Recommended Module Size | Note |
|---|---|---|
| ≤ 30 cm | ≥ 2.0–2.5 mm | Close range; prefer low data density |
| 30–60 cm | ≥ 3–4 mm | Safe range for standard product labels |
| 60–100 cm | ≥ 5–6 mm | Better performance for medium data density |
- Error correction: M or Q level in QR codes can help mitigate glare/reflection risk on glass.
- Contrast: Clean around the matte engraving; reduce backlighting reflections.
- Data density: Instead of a compact QR, less data + larger modules generally yields better results.
Parameter Window and Test Strips
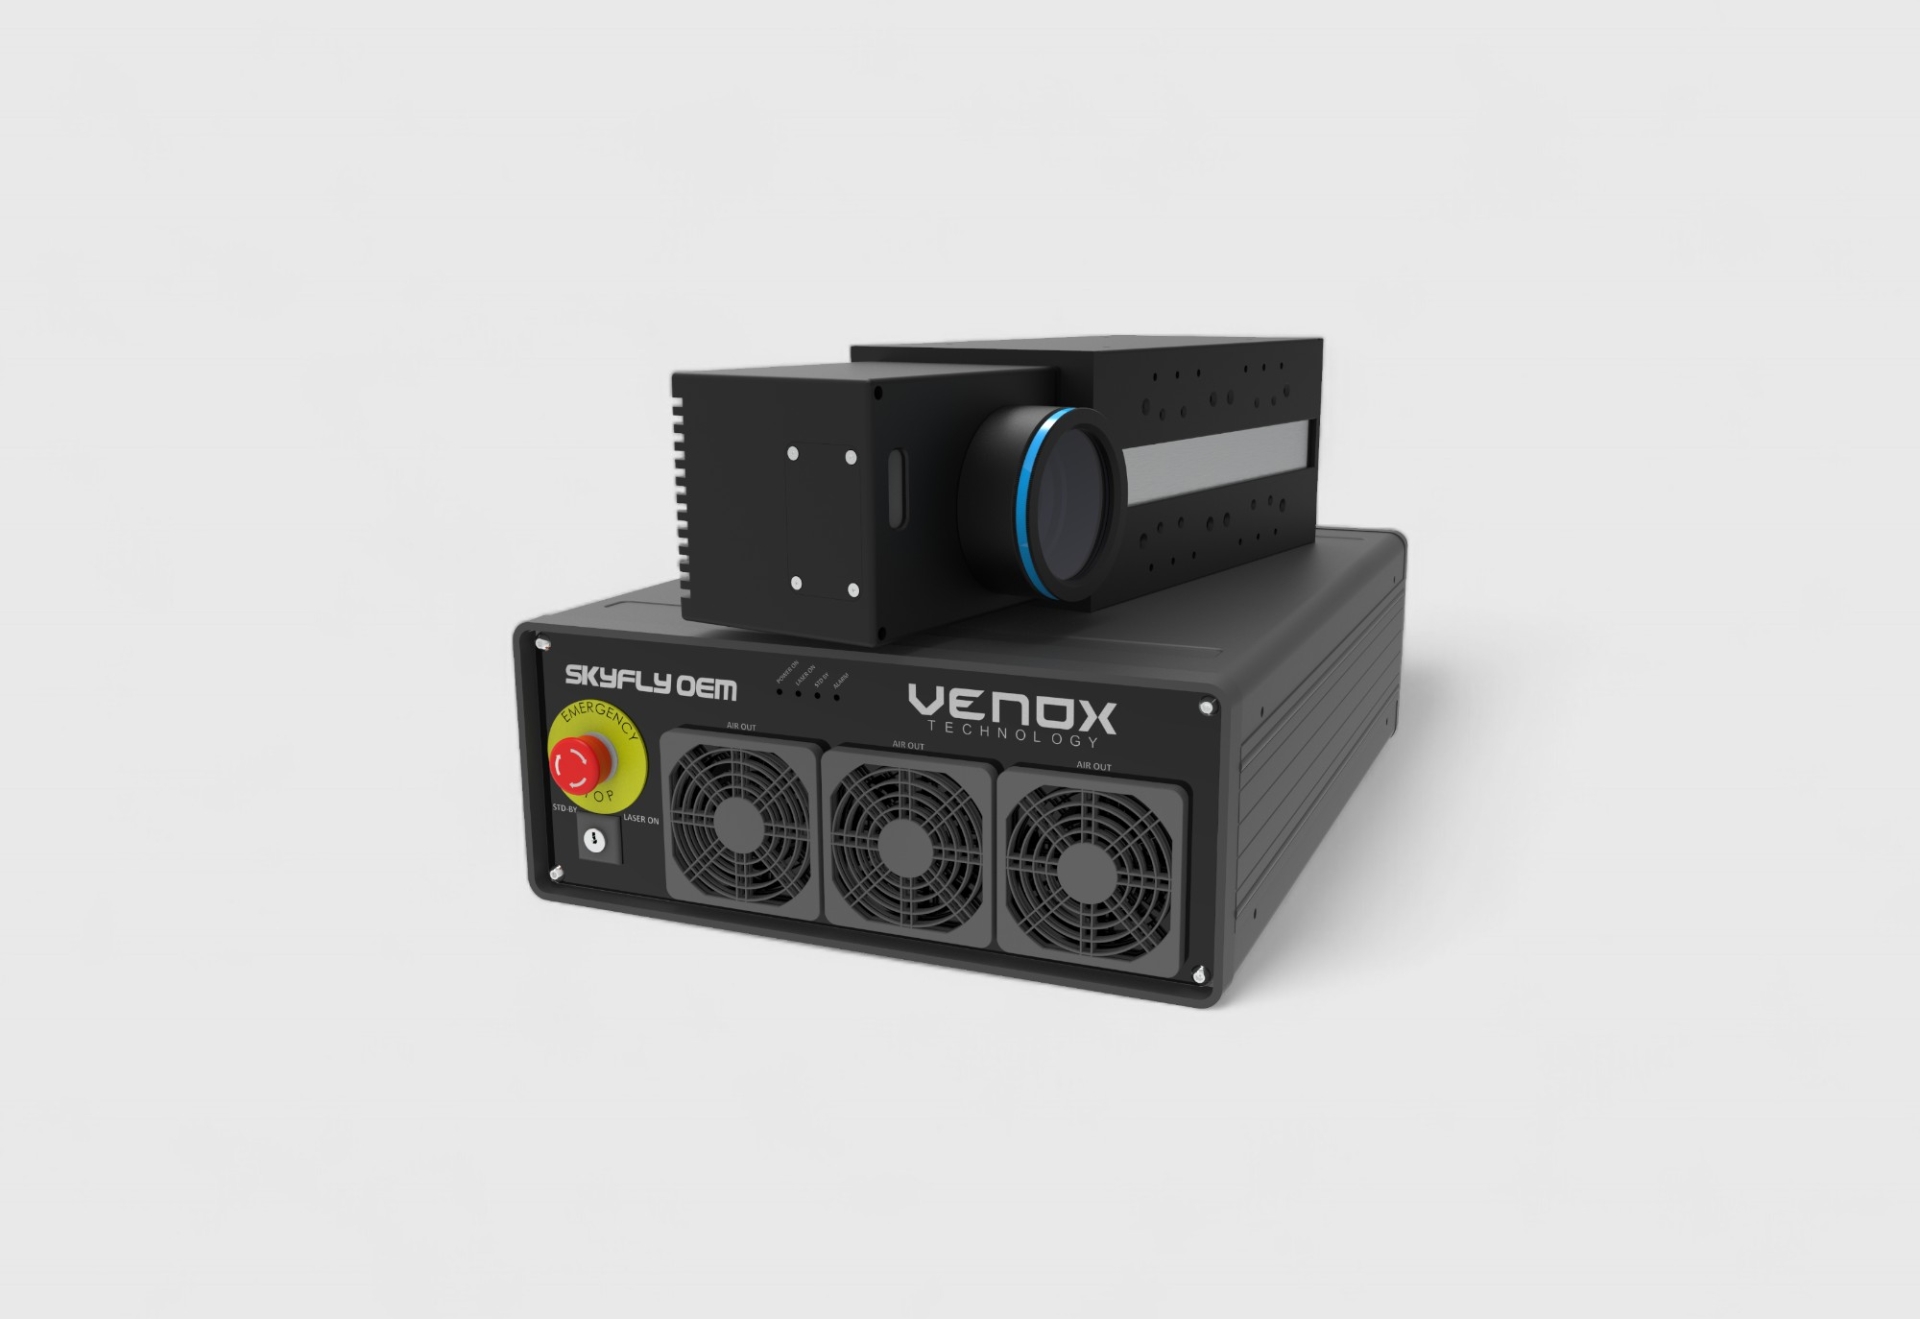
The ideal window varies with each machine/optics configuration. For suitable configurations, visit the Laser Cutting Systems page.
| Parameter | Recommendation | Purpose |
|---|---|---|
| Power | Low–medium (multiple passes) | Distribute thermal load, reduce microcracking |
| Speed | High | Limit energy density |
| Scan spacing (line spacing) | Wide → medium | Control heat accumulation |
| Number of passes | 2–4 (for shallow engraving) | Step the total effect |
| Focus (defocus) | Very slight positive defocus | Reduce hot-spot risk |
Test Strips (Test Card)
- Scan 3–5 different logo sizes with 3 different speed/power combinations.
- For QR, try 3 different module sizes and two different error-correction levels.
- Evaluate samples with the naked eye + smartphone cameras and from different angles.
File Preparation: Vector/Raster, DPI, and Conventions
- Vector: For crisp lines such as logos/serial numbers use vector (AI/SVG/DXF); convert text to outlines.
- Raster: For QR/bitmap images, use 300–600 DPI; background transparent or single color.
- Negative/positive: Test inverted versions depending on the backlighting of the glass.
- Layers:
ENGRAVEandGUIDElayers; measurement unit mm.
Durability, Cleaning, and Environmental Factors
- Wear: On high-friction surfaces, choose a deeper/more matte engraving.
- Chemical cleaning: Solvent/alkaline cleaners may leave marks; run tests on a sample.
- Heat/UV cycles: Accelerated aging tests are useful for outdoor applications.
Pre-Project Checklist
- Are the file type (AI/SVG/DXF) and measurement unit (mm) clear?
- Have QR module size, error-correction level, and final reading distance been defined?
- Are the logo’s minimum stroke thickness and clearances suitable?
- Have sample tests been run (with different parameter sets)?
- Have cleaning/packaging/protection requirements been defined?
For suitable machine and marking solutions, visit the Laser Cutting & Marking Machines page.
Frequently Asked Questions (FAQ)
Should engraving on glass be deep or superficial?
Superficial, matte engraving is usually sufficient. Deep engraving can increase thermal load; multiple light passes are safer.
My QR code isn’t readable on some phones; why?
The module size may be too small, contrast insufficient, or glass glare too high. Increase the module size, set error correction to M/Q, and clean the surface.
Can coated/mirror glass be engraved?
Yes, but there is a risk of coating damage. Sampling is essential with masking and careful parameters.
How can I increase consistency in serial production?
Standardize parameters, perform regular lens/optics maintenance, and produce a small verification card with each batch.
How should post-engraving cleaning be done?
Use microfiber cloths and gentle, glass-compatible cleaners. Avoid abrasive pads.
