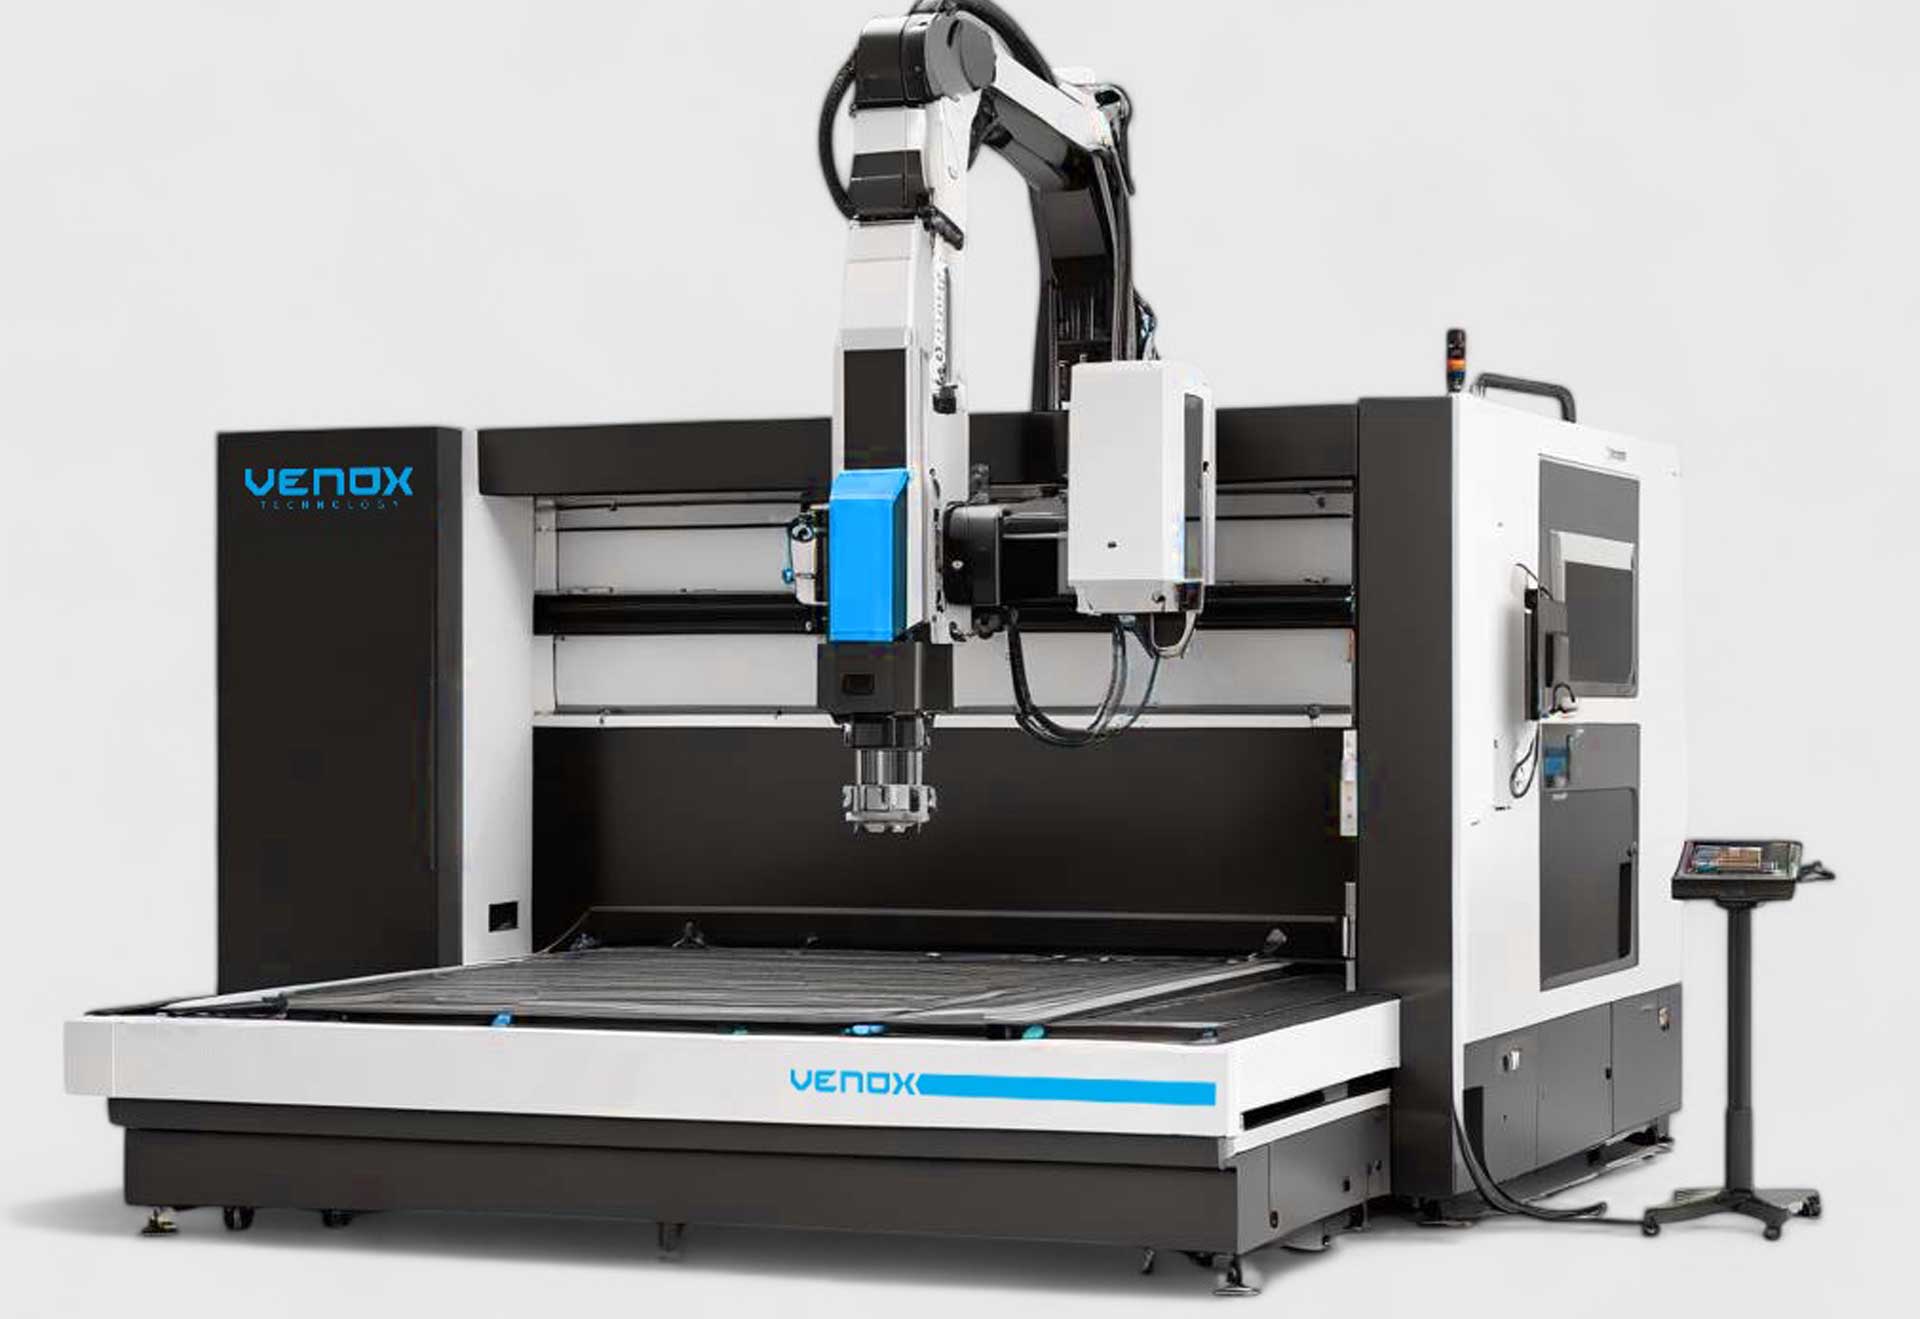
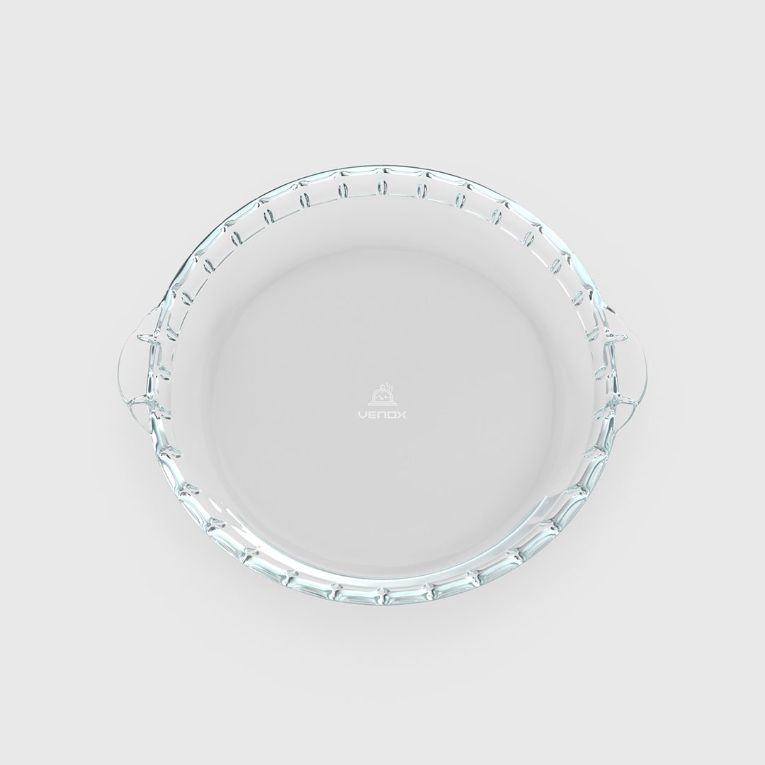
“Can tempered glass be cut with a laser?” is one of the most frequently asked questions in the glass industry. The short answer: Generally no. This is because the tempering process creates a high level of residual stress inside the glass, and any cutting/hole/pocket attempts after tempering can lead to sudden breakage. To see the role of lasers in glass applications and alternative processes in context, you can review the Glass sector page.
Why Does Tempering Make Laser Cutting Risky?
- Internal stress profile: Tempering creates compressive stress at the surface and tensile stress in the core. A cutting or deep-engraving attempt disturbs this balance.
- Sudden fragmentation: When damaged, tempered glass breaks into small pieces. The localized heat–cool cycle of the laser can initiate cracking.
- Local microcracks: In high energy-density regions, micro-defects can grow and turn into breakage.
For this reason, laser cutting, drilling, and pocketing should be planned and performed before tempering.
Is the Laser Ever Used? (Surface Engraving/Marking)
In some cases, shallow surface engraving/marking can be applied on tempered glass. However, this should be considered for non-structural and low-risk decorative/labeling purposes and within a narrow parameter window:
- Low power, high speed, large spot (to limit heat build-up)
- Wide hatch spacing and low scan density
- Sample–approval loop and long-term durability observation
Even post-temper engraving is not recommended on structural/dimension-critical panels. For broader decorative work, pre-temper engraving followed by tempering is the safest workflow.
Correct Workflow: Cutting/Drilling/Engraving → Tempering
- Design and file preparation: DXF/SVG/AI, units in mm, separate layers for cutting–engraving, tolerance notes.
- Pre-processes: Edge grinding/polishing, drilling, pockets, chamfering. (Before tempering)
- Sample and approval: Always sample for geometries with high breakage risk.
- Thermal tempering: Dimensions and holes are locked in; no reworking after tempering.
- Quality control and packaging: Edge quality, surface inspections, and heat-soak tests if needed.
To see suitable machine and process combinations, visit the Laser Cutting and Marking Machines and Laser Cutting Systems pages.
Alternatives: Waterjet, CNC Diamond, or Laser?
In the pre-temper stage, there are multiple methods to create the glass geometry. Depending on your design, thickness, and edge-quality expectations, the comparison below can guide you:
| Technology | Advantage | Limitation | Recommended Use |
|---|---|---|---|
| Waterjet | Good for thick glass; complex contours; no thermal damage | May require additional grinding for edge smoothness | Thick/complex panels, precise pockets/holes |
| CNC diamond | High edge quality; good control of hole/bottom radius | Time may increase for very fine details | Architectural/decorative work with high edge-quality requirements |
| Laser (CO₂) | Fast on thin glass and for decorative engraving | Limited on thick glass and intricate holes; thermal effects | Thin/medium thickness, decorative engraving + cutting combinations |
When deciding, you can consider a simple decision matrix based on project type:
- Thickness >= 10–12 mm → Waterjet / CNC diamond
- Top-tier edge quality → CNC diamond (+ polishing as needed)
- Thin glass + decorative engraving → Laser (pre-temper)
- Designs with many holes/pockets → Waterjet (followed by edge refinement)
Design Rules (Guide Values)
The guidelines below are common practice values; they may vary by supplier and project:
- Minimum hole diameter: At least equal to the glass thickness (often ≥ 6 mm).
- Hole–edge distance: At least 2 × the glass thickness (or ≥ 1.5 × hole diameter).
- Distance between holes: Preferably ≥ 4 × the glass thickness.
- Inner radius for corners/pockets: At least the glass thickness (avoid sharp corners).
- Engraving on structural panels: Should be planned before tempering; post-temper is not recommended.
To validate these rules, sample production is advised, along with special attention in highly loaded areas (hinges, fasteners).
Quality Control, Safety, and Tests
- Edge quality: Define the chipping criterion from the outset; include edge polishing/chamfering if required.
- Stress-induced breakage: For high-risk projects, consider heat-soak tests.
- Packaging and transport: Ship with edge protectors and vibration-damping solutions.
Pre-Quote Checklist (Before Tempering)
- File: DXF/SVG/AI, mm, separated cutting–engraving layers, tolerances.
- Glass info: Type, thickness, coating/mirror status, quantity.
- Edge target: Polishing/chamfering, hole–edge distances.
- Timeline: Sample–series plan, expedite need.
For correct equipment and process selection, visit the Laser Cutting Systems and Laser Cutting and Marking Machines pages.
Frequently Asked Questions (FAQ)
Can tempered glass be cut with a laser?
Generally no. After tempering, the internal stress balance is disturbed by the laser’s thermal effect and sudden breakage may occur.
When should cutting, holes, and pockets be made?
All before tempering. The glass then takes its final form through tempering, and dimensional integrity is maintained.
Is surface engraving possible on tempered glass?
Non-structural, shallow decorative/labeling engraving can be considered within a narrow parameter window and with sample approval. It is not recommended for structural panels.
Which technology is more suitable: waterjet, CNC diamond, or laser?
Waterjet for thick glass and complex pockets; CNC diamond for top-tier edge quality; laser (pre-temper) for thin/decorative work.
What are the general rules for hole and edge distances?
Minimum hole diameter ≈ glass thickness; hole–edge distance ≥ 2 × thickness; hole–hole distance ≥ 4 × thickness; inner radius ≥ thickness. May vary by project and supplier.
