


Error Types, Troubleshooting, and Improvement Guide for Laser Marking Machines
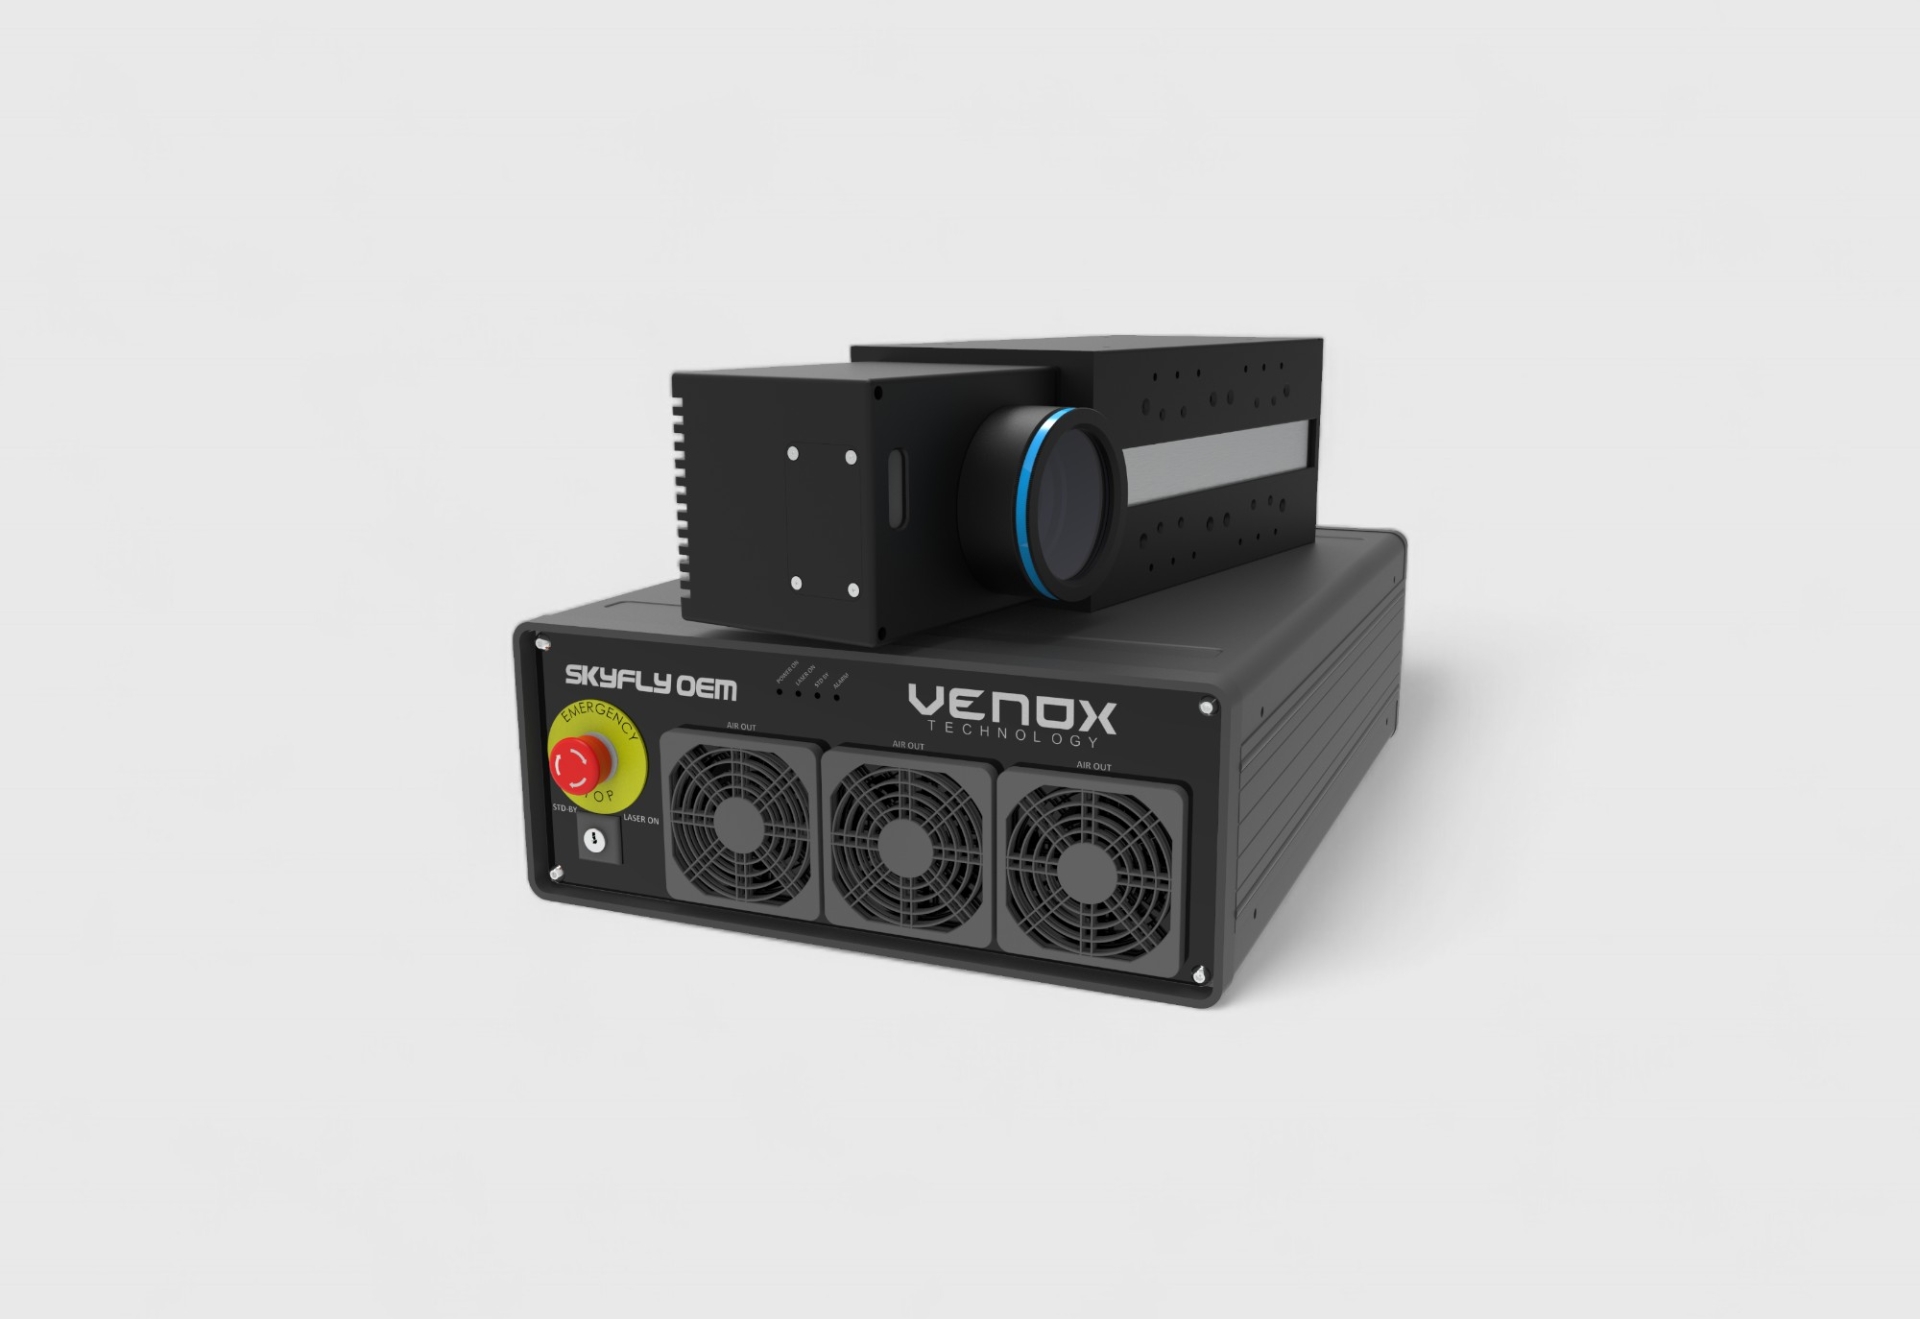
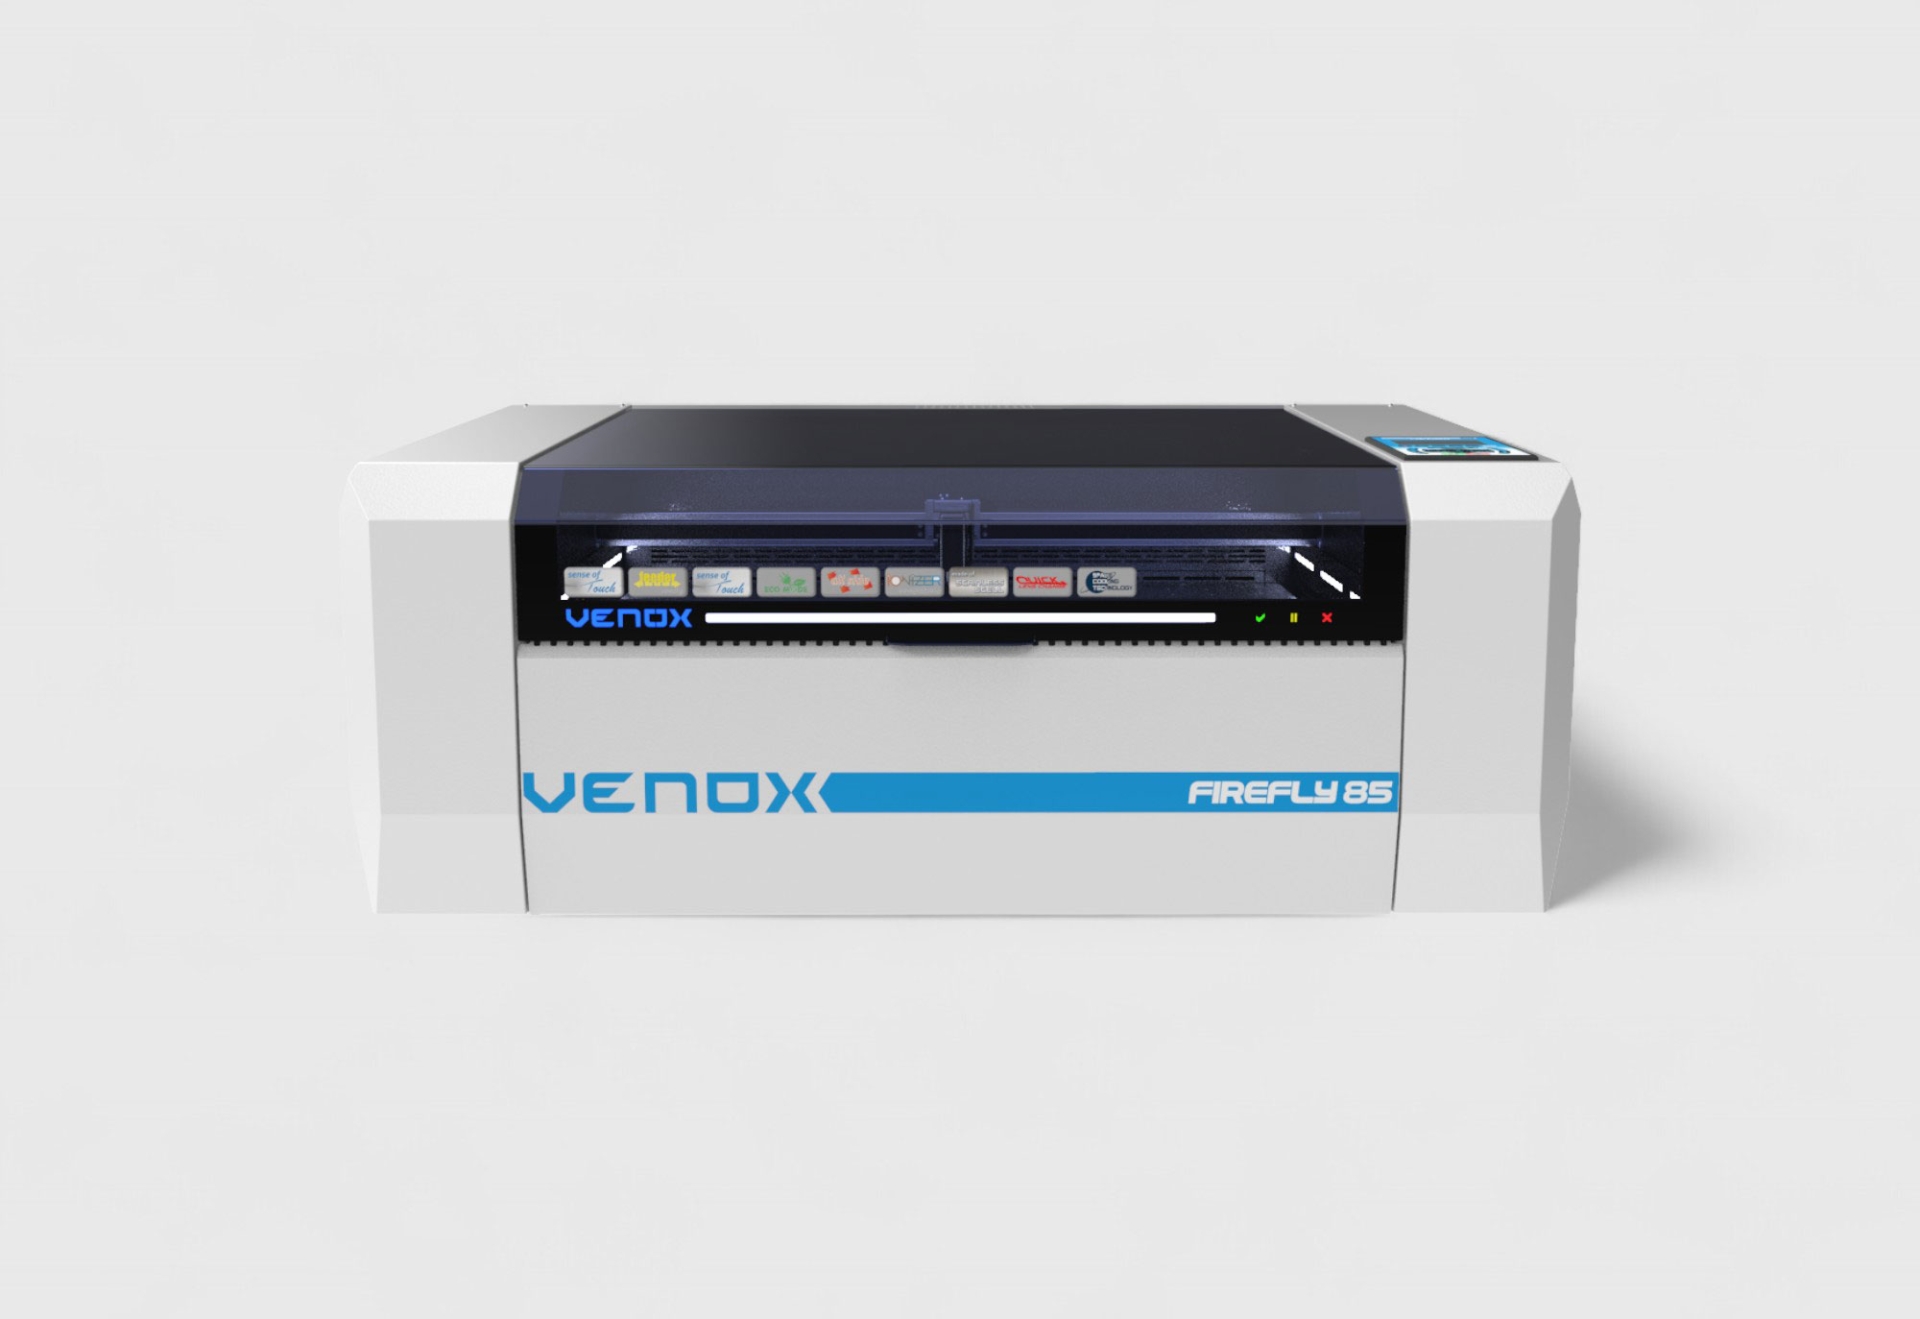
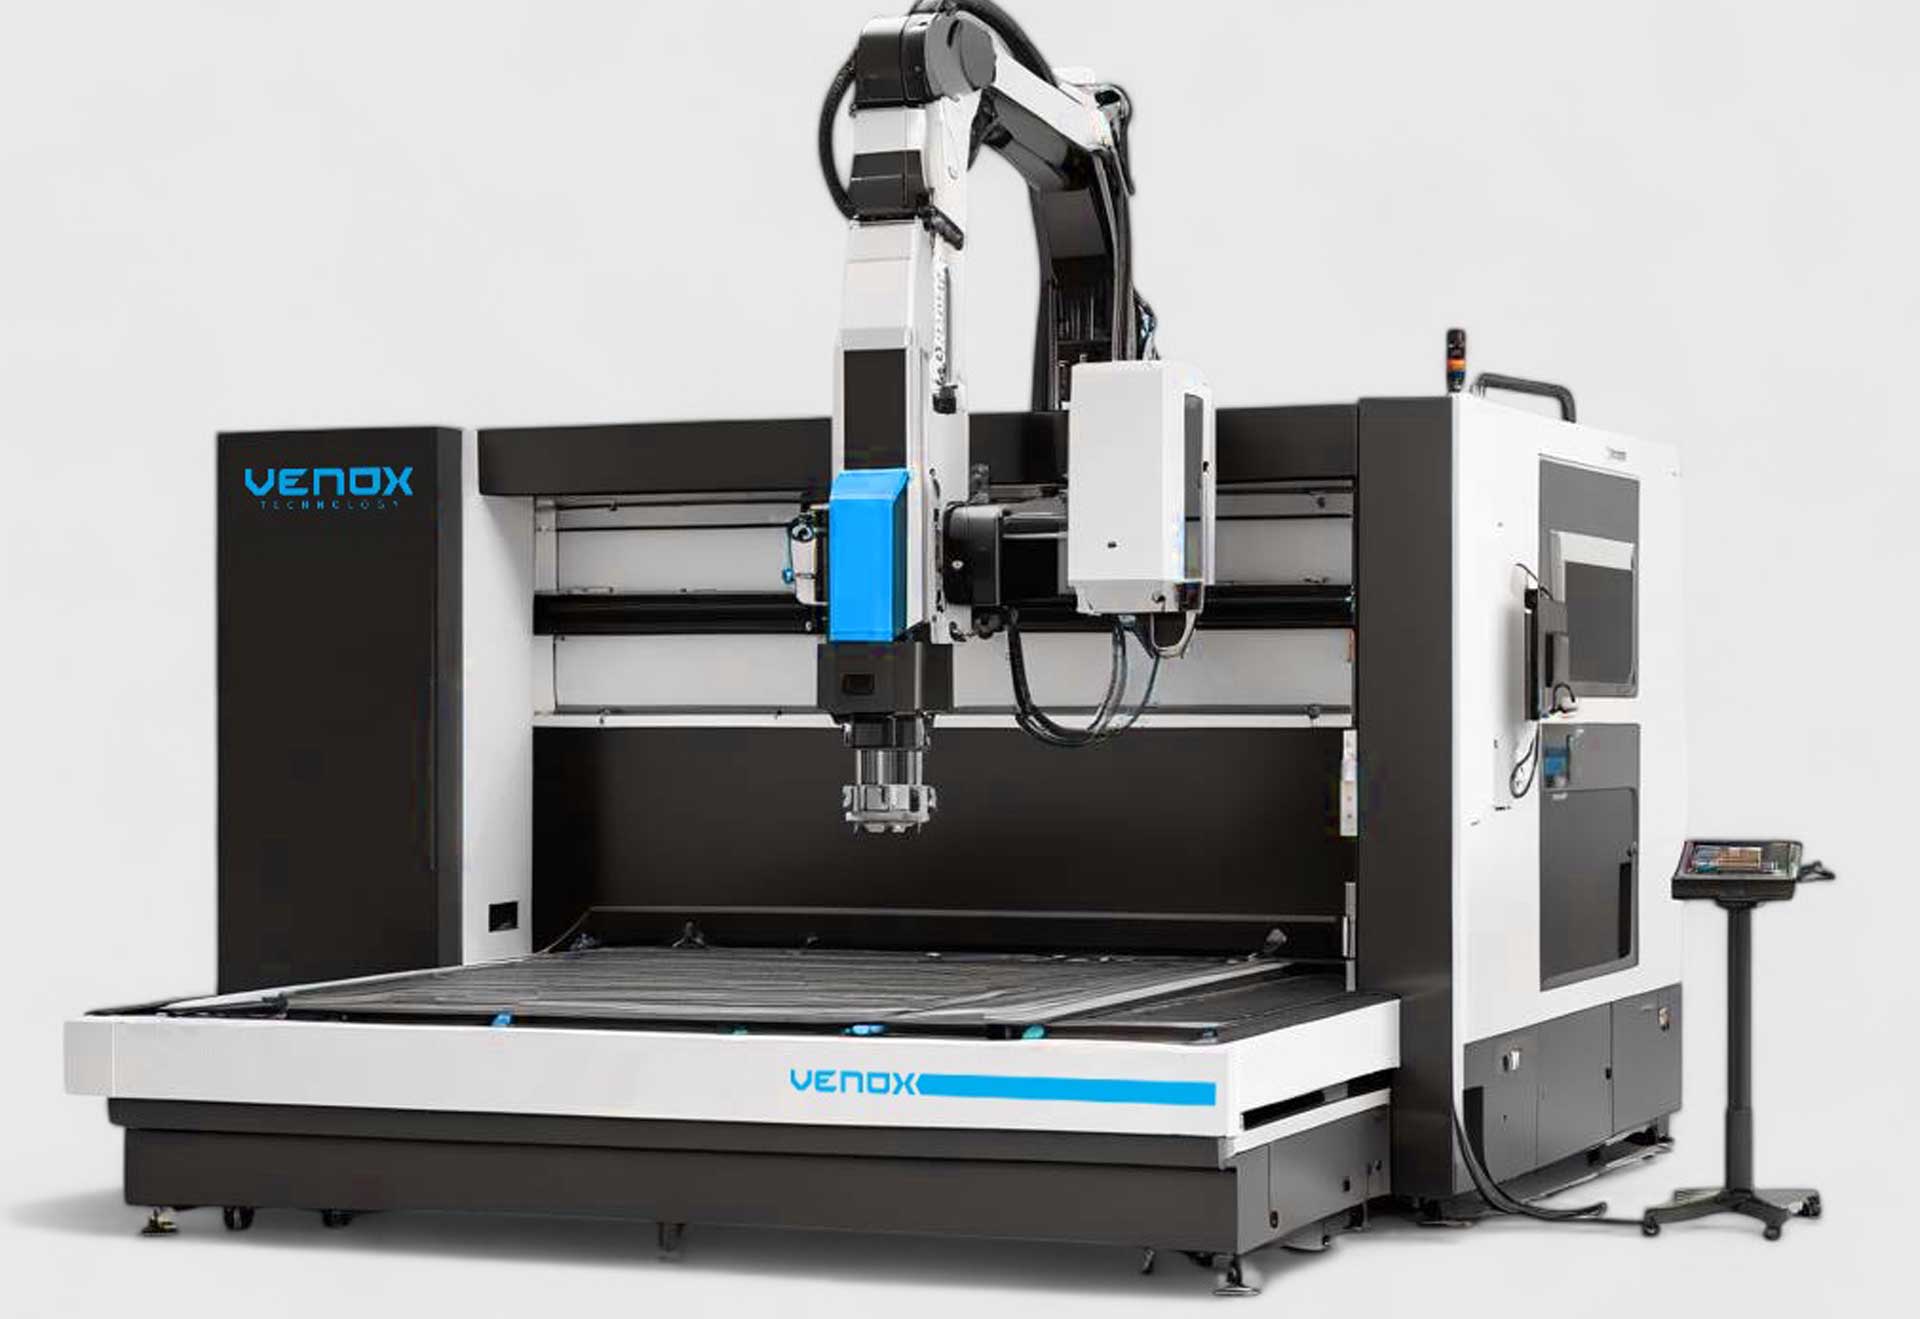
In industrial laser marking applications, most issues can be resolved quickly through accurate diagnosis and systematic troubleshooting. This guide presents common error types, their possible causes, and permanent improvement steps within a practical framework. For Venox solutions: Laser Marking Machines.
Common Laser Marking Errors and Their Causes
Errors are typically related to parameter settings, optical conditions, material variations, or integration. The headings below summarize the most frequently encountered cases in the field.
Low contrast / faint marking
Causes: Low power, high speed, incorrect frequency, or an unsuitable wavelength. Solution: Rebalance the power–speed settings and verify the laser type is appropriate for the material.
Burning, melting, or surface damage
Causes: Excessive power, low speed, incorrect focus. Solution: Reduce power, increase speed, and recalibrate the focal distance.
Blurry or scattered marking
Causes: Incorrect focus, dirty lens, vibration. Solution: Clean the optics, correct the focus setting, and check mechanical stability.
Unreadable 2D codes
Causes: Insufficient contrast, cell size mismatch, incorrect camera–code distance. Solution: Adjust code parameters according to standards and optimize camera verification.
Incorrect data / wrong serial number
Causes: Software–PLC integration error, manual data entry. Solution: Use recipe-based automation and lock the data flow.
Unexpected stoppages
Causes: Cooling issues, clogged filters, software warnings. Solution: Implement a preventive maintenance plan and monitor alarms.
Systematic Troubleshooting and Continuous Improvement
For a permanent solution, instead of one-off interventions, root cause analysis and standardized improvement steps should be followed.
Step 1: Define the error and collect data
Record when the error occurred, on which product, and with which parameters.
Step 2: Check parameters and optics
Power, speed, frequency, focus, and optical cleanliness should be checked.
Step 3: Verify material and surface
Batch-based material variations (coating, alloy) should be evaluated.
Step 4: Test integration and data flow
PLC/MES/ERP connections should be validated by simulation.
Step 5: Standard recipes and checklists
Approved parameters should be locked as recipes, and daily/weekly checklists should be implemented.
Field-supported improvement with Venox
Venox prevents recurring errors in laser marking projects through on-site analysis, parameter optimization, and training. For support: you can visit the Venox laser marking machines page.
Effective troubleshooting delivers less downtime, higher quality, and lower total cost.
To reduce error rates in your laser marking processes and achieve permanent improvement, you can receive professional support from Venox.
